RESULTS OF THE CHALLENGE


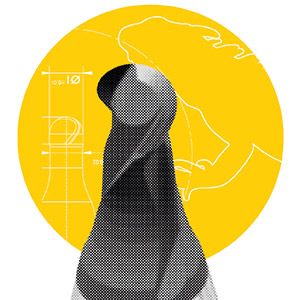
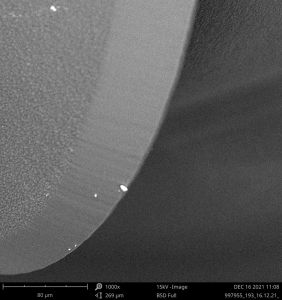
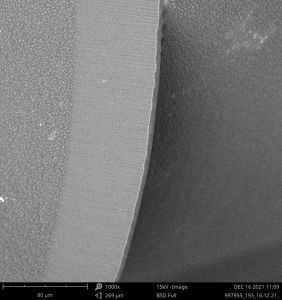
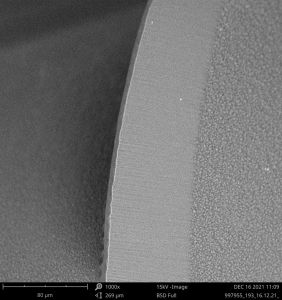
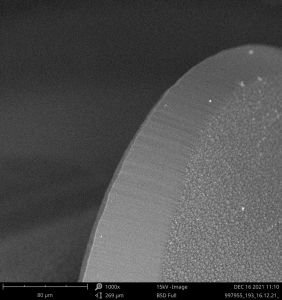
Now discover the difference of the IGUANA tool used before and after the live milling event. As a basis for comparison for the subsequent measurement results, the mold was already measured in detail in advance: on the left, the results of the IGUANA cutter at a runtime of 0 hours and on the right the comparison after incredible 641 hours and a covered milling path of more than 27 kilometers. 

After tool use, the tool shows neither wear nor a relevant change in shape. The surface measurements reflect the programmed roughness of Ra 0.25 within the measurement and manufacturing tolerance. Based on the surface optics, it can be seen that the traverse paths of the machine are very accurate. Despite the tool size (Ø 1 mm), the contour was machined very precisely and without burr formation at the contour transitions, which additionally speaks for the repeatability of the machine/tooling combination.

IGUANA milling cutters are manufactured to a tolerance of < 0.002 mm. Although the IGUANA milling cutter used has a minimal form deviation in the center due to the manufacturing process, it is within the tolerance range both before and after the event and therefore does not show any wear whatsoever.

Further measurement results can be found in the booklet.


IGUANA - Tool

935.B2.0100.050.015
Milling time: 16.12.2021 - 0 h

IGUANA - Tool

935.B2.0100.050.015
Milling time: 14.01.2022 - 641:27 h

The following overview lists each individual coin in chronological order, which was milled live during the IGUANA MILLING CHALLENGE. In addition to microscope images, the corresponding surface measurements and tool test reports are available for each coin.

In electrode production, common surface qualities are N5-N7. The finely finished workpiece surfaces achieved during the live event with Ra < 0.3 (N4-N5) are better than the qualities required on the market. Even finer quality levels (N1-N3) with Ra < 0.1 count as a mirror surface and are only very rarely used in copper processing.

KERN

KERN Microtechnik GmbH, Eschenlohe, employs around 220 people and successfully operates in more than 30 countries. It focuses on two commercial fields: the development and manufacture of high precision machining centers and contract production of machined parts in the micro and nano domains.

Among others, KERN milling centers are used for in-house serial contract production. Therefore, the company's mechanical engineers are perfectly equipped not only to produce high precision machines, but also to accompany their users with the necessary process know-how. Customers become technology partners and thus part of the "KERN Family". This includes intensive consultation in terms of optimal operation and process integration from the idea to the finished part, enabling KERN users to increase their competitiveness step-by-step.

Kern contract production's product portfolio encompasses prototypes, single-item and serial production as well as unit assembly and design support. Parts are machined by milling, drilling, EDM and grinding.

Website